Use this audit checklist to verify panel degradation rate assumptions in project models. It covers efficiency loss inputs, warranty planning, installation factors, and monitoring validation.
- Verify degradation rate inputs against manufacturer warranties and site conditions before locking project models.
- Track efficiency loss separately from power output to isolate performance from capacity factors.
- Use monitoring data to validate assumed degradation curves during the first operational years.
- Document installation and maintenance variables that can accelerate or mask degradation.
Why the Degradation Rate Input Matters
A panel degradation rate is a single number that drives long-term revenue projections, loan models, and replacement planning. It represents the expected annual decline in module efficiency after commissioning. Most modules are sold with a linear degradation assumption, but the actual performance curve can vary based on manufacturing quality, installation stress, environmental exposure, and maintenance practices.
The risk is not that the number is wrong. It is that the wrong number enters the model silently. A one percent difference in assumed annual degradation compounds over thirty years. If your model assumes a standard linear rate but the site experiences higher thermal stress, or if the modules are under-spec for the local climate, the projected cash flow will drift from reality.
This checklist gives you a structured way to audit that input. Work through each section before finalizing any financial model or design specification.
Verify the Baseline Efficiency and Degradation Assumptions
Start at the source. Do not rely on generic industry averages. Pull the exact degradation specification from the manufacturer’s data sheet for the specific module model you are specifying.
- Confirm the initial efficiency rating. This is the efficiency at the standard test conditions, usually 25 degrees Celsius, 1000 watts per square meter, and AM1.5 spectrum.
- Identify the degradation rate stated in the warranty. Some manufacturers specify a rate per year, others specify a minimum efficiency at a specific year, and some use a combination of both.
- Check if the warranty assumes a linear decline. Some warranties allow a steeper initial drop and a flatter tail. Your model should match the warranty shape, not just the average.
- Note any performance ratio adjustments. If the manufacturer guarantees a specific power output at a given temperature, use that to cross-check your efficiency assumptions.
Red flags to watch for:
- A generic degradation rate copied from a sales pitch rather than the technical data sheet.
- A warranty that states a minimum output at year ten without specifying the annual rate, making it hard to model year-by-year.
- Mismatch between the efficiency rating used in your model and the actual module datasheet.
- Using a premium module’s degradation rate for a standard tier product to inflate projections.
Check the Environmental and Climatic Stressors
Degradation is not just a function of time. It is a function of how the module is treated by its environment. Your model should account for the specific stressors at the project site.
| Stressor Factor | Typical Impact | Verification Method |
|---|---|---|
| Thermal cycling | Accelerated degradation of solder joints and cell interconnects | Review local daily temperature swing data |
| UV exposure | Degradation of encapsulant and frame finish | Check solar irradiance and humidity indices |
| Moisture ingress | Corrosion and delamination | Review site elevation, dust, and salt exposure |
| Mechanical stress | Microcracks in cells from snow or hail | Check local snow load and hail frequency |
| Soiling | Temporary efficiency loss, not permanent degradation | Assess local dust, pollen, and bird activity |
Red flags to watch for:
- A coastal or desert site where the model assumes standard degradation but ignores salt or dust exposure.
- A high-altitude site where UV exposure is higher but the model uses a baseline value.
- A snow-heavy region where mechanical loading is not considered in the degradation analysis.
- Treating soiling losses as permanent degradation instead of operational losses.
Review Installation and Mechanical Integrity
How the module is physically installed can change its degradation behavior. This is where many models fail because they assume a uniform installation environment.
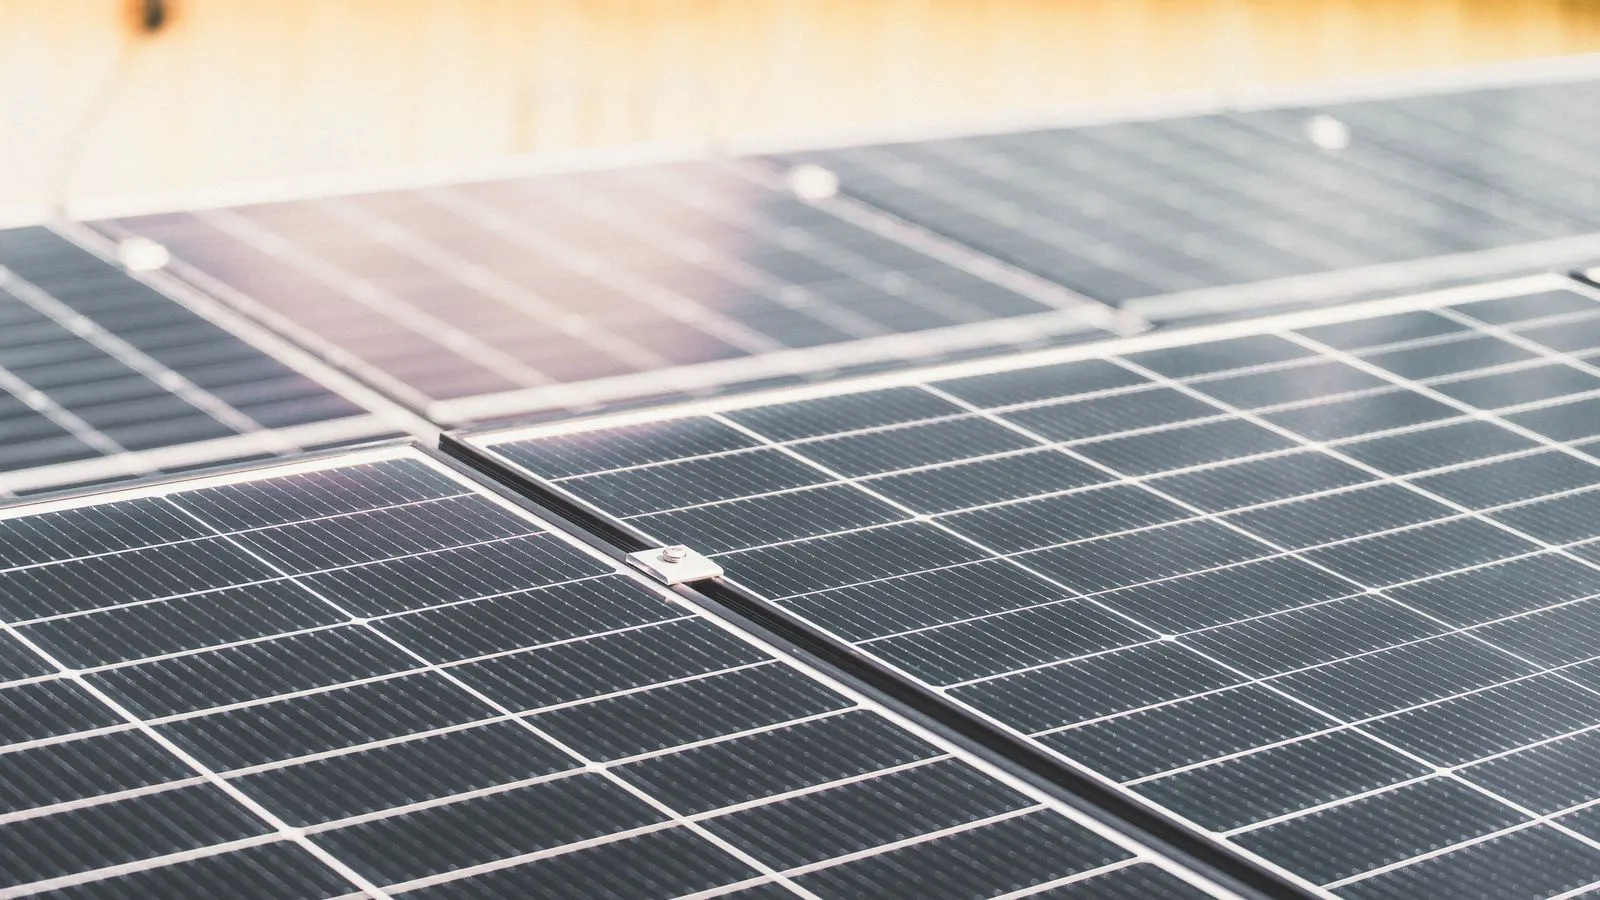
- Check the mounting system. Rigid clamps with too much torque can create stress points. Flexible clamping systems distribute load differently.
- Verify the tilt and orientation. Extreme tilt angles can increase water pooling and snow loading.
- Review the inverter and wiring configuration. High current paths can create heat at connection points, which may affect nearby module performance.
- Confirm the ventilation gap. Poor airflow behind the array raises operating temperatures, which accelerates degradation.
- Document the torque specifications used during installation.
Red flags to watch for:
- A flat-roof installation with no ventilation gap, leading to higher operating temperatures.
- Tight clamp torque on thin-film modules that are more sensitive to bending.
- Mismatched inverter stringing that causes some modules to operate at suboptimal voltages.
- No record of the installation torque or mounting method.
Align Warranty Planning with Model Assumptions
Your financial model should reflect the warranty structure, not just the degradation rate. The warranty is your protection, but only if the model matches it.
- Identify the product warranty period and the performance warranty period. These are often different lengths.
- Check if the performance warranty covers the entire array or only a subset.
- Review the remedy for underperformance. Some warranties offer cash compensation, others offer module replacement, and some offer a credit.
- Confirm the claim process. What data must you submit? How quickly must you report underperformance?
- Note any exclusions. Weather damage, soiling, and electrical faults are often excluded from performance warranties.
Red flags to watch for:
- A long product warranty but a short performance warranty, meaning the modules are guaranteed to last but not to perform.
- A warranty that requires the owner to pay for third-party testing before filing a claim.
- A model that assumes the full array performs at the guaranteed rate, ignoring that individual modules may underperform.
- No clear path for recovery if the array degrades faster than the warranty threshold.
Validate with Monitoring and Performance Data
The best check is empirical. If the project is already operational, or if you are using a similar existing project as a reference, compare the assumed degradation to the actual data.
- Pull the first year of production data. Compare it to the nameplate capacity and the expected capacity factor.
- Calculate the actual efficiency loss per month or quarter.
- Adjust for weather. Use a clear-sky index or a weather-normalized production model to separate degradation from weather variation.
- Check for soiling losses. If the array is in a dusty area, a drop in production may be soiling, not degradation.
- Review inverter efficiency. Inverter losses can mask module degradation if not accounted for.
Red flags to watch for:
- A steady drop in production that correlates with seasonal soiling rather than a true efficiency loss.
- No baseline measurement taken at commissioning, making it impossible to track degradation.
- Monitoring data that is not weather-normalized, leading to false conclusions about degradation.
- A model that assumes a constant capacity factor, ignoring that soiling and shading change the effective output.
Document and Maintain the Assumptions
A degradation rate is not a fixed number. It is an assumption that needs to be tracked and updated.
- Keep a version history of the degradation rate used in each model iteration.
- Record the source of the rate, including the manufacturer, model number, and document reference.
- Note any site-specific adjustments made to the baseline rate.
- Review the assumption at each major financial milestone, such as a loan renewal or asset sale.
- Update the model with actual performance data as it becomes available.
Red flags to watch for:
- A model that has not been updated since the initial design phase.
- No documentation of why a particular degradation rate was chosen.
- A discrepancy between the rate used in the financial model and the rate used in the design software.
- No plan for updating the assumption based on operational data.
Final Audit Checklist
Use this quick-reference list to verify your panel degradation rate before finalizing any project model.
- The degradation rate is sourced from the specific module datasheet, not a generic average.
- The warranty performance curve matches the model assumption.
- Environmental stressors for the site are documented and considered.
- Installation mechanical factors are reviewed and recorded.
- Warranty claim conditions and remedies are understood.
- Baseline performance data is available for validation.
- The assumption is documented with a source and version history.
- The model distinguishes between permanent degradation and temporary losses.
- Inverter and system losses are separated from module degradation.
- The assumption is reviewed at planned financial milestones.
Frequently asked questions
How do I know if my assumed panel degradation rate is too optimistic?
Compare your assumed rate to the manufacturer's warranty. If your model assumes a lower annual loss than the warranty minimum, you are likely being optimistic. Validate with first-year performance data.
Should I use a linear or non-linear degradation model?
Use the shape specified in the manufacturer's warranty. Some warranties imply a steeper initial drop and a flatter tail. A linear model may be acceptable if the warranty is linear, but match the warranty structure for accuracy.
How does soiling affect my degradation assumptions?
Soiling causes temporary efficiency loss, not permanent degradation. It should be modeled as an operational loss, separate from the panel degradation rate. If soiling is not cleaned regularly, it can mask the true degradation rate in your data.
Do I need to adjust for inverter efficiency when calculating degradation?
Yes. Inverter efficiency varies with load and temperature. If you do not account for inverter losses, you may attribute inverter inefficiency to module degradation. Use weather-normalized data that isolates module performance.
How often should I review my degradation rate assumption?
Review it at least annually using the latest performance data. Also review it at major financial events, such as loan renewals, asset sales, or significant system modifications. Update the model as actual data becomes available.